


On this page
An “LED light bar not working” issue calls for starting with the product’s own wiring diagram and inspecting the fuse, connectors and ground before testing the circuit. Turn the system off and follow the manufacturer’s isolation steps first. Do not bridge relay terminals, install a larger fuse or keep replacing a fuse that opens repeatedly.
Prepared by the SAEC Technical Editorial Team. This is a general safety sequence, not a universal wiring diagram; harnesses and vehicle circuits differ. Last updated October 11, 2026.

What should you do first?
If you notice smoke, a burning smell, melted insulation, unusual heat or water inside the lamp, switch the system off and do not continue testing. Keep hands clear of exposed conductors. If the vehicle’s normal lights or other safety equipment are affected, do not drive until the issue is resolved.
For a routine no-light condition, use the exact light-bar and harness manual. Some kits require removing an inline fuse or relay before wiring work; others use a controller or vehicle-specific adapter. The KC HiLiTES Flex Era harness manual, for example, instructs installers to remove the inline fuse and relay before starting wiring. That instruction is specific to that harness and should not be assumed to describe every system.

What can you inspect without rewiring?
Once the circuit is safely off according to the manual, inspect the inline fuse and holder for visible damage, then check that plugs are fully seated and the harness has not been pinched, cut, chafed or pulled loose. Look for corrosion, water intrusion and a loose ground connection. Do not assume that a fuse is good because its element looks intact; only test it using a method described in the product or vehicle service information.
If a fuse is open, replace it only with the rating specified by the manufacturer after checking for an obvious fault. Never fit a higher-rated fuse to keep a light on. If the replacement opens again, stop; repeated fuse failure can indicate a short circuit or failed component that needs diagnosis.
Some harnesses use a relay, separate switch circuit or electronic controller. A silent relay, an unlit switch or a partially working bar can narrow the symptom, but the expected indicator behavior and wiring are product-specific. Do not copy a relay pinout from another vehicle or kit.
When should you use a meter?
Use a multimeter only if you can identify the manufacturer’s test points and expected values for the exact harness. A voltage reading at the lamp connector can help distinguish a supply issue from a lamp issue, but vehicle circuits may be pulse-width controlled, multiplexed or switched on the ground side. A generic “12 volts here” assumption can lead to a wrong diagnosis or damage.
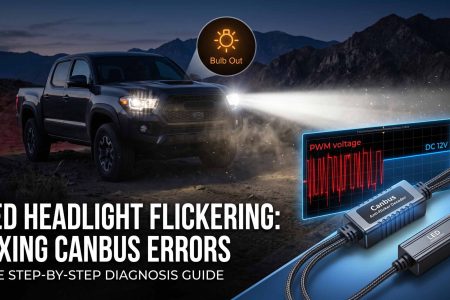
If you are not comfortable probing an energized circuit, stop at the visual checks and contact the light manufacturer or a qualified automotive electrician. The article LED headlight flicker troubleshooting explains why vehicle electrical symptoms can have more than one cause. For choosing beam shape rather than diagnosing power, see SAEC’s light bar versus driving light guide.
When should you stop and get help?
Stop and get help if the fuse opens again, wiring or connectors get hot, insulation is damaged, water has entered the sealed lamp, the vehicle’s factory lighting behaves unexpectedly, or a model-specific test does not identify the fault. Do not open a sealed light housing or bypass a controller unless the manufacturer explicitly provides that procedure.
When replacing a defective lamp, verify the exact model, supply voltage, harness and fuse requirements rather than selecting by bar length alone. SAEC’s LED light manual page and LED light bar catalog are product references; follow the manual that matches the exact item. SAEC’s Peterbilt lighting feature is a separate editorial story, not a diagnostic guide.
Sources
- KC HiLiTES: FLEX ERA LED light bar harness instruction manual 56-00036-01 — fuse/relay removal before wiring work and post-install testing for this harness.
- KC HiLiTES: Jeep light bar wiring support — manufacturer troubleshooting guidance on fuse and relay symptoms.
- KC HiLiTES product support — technical questions and installation support.
Image rights: All three visuals are original SAEC vector editorial illustrations. Circuit paths are conceptual only and do not identify wire colors, fuse values or relay pins.
 by